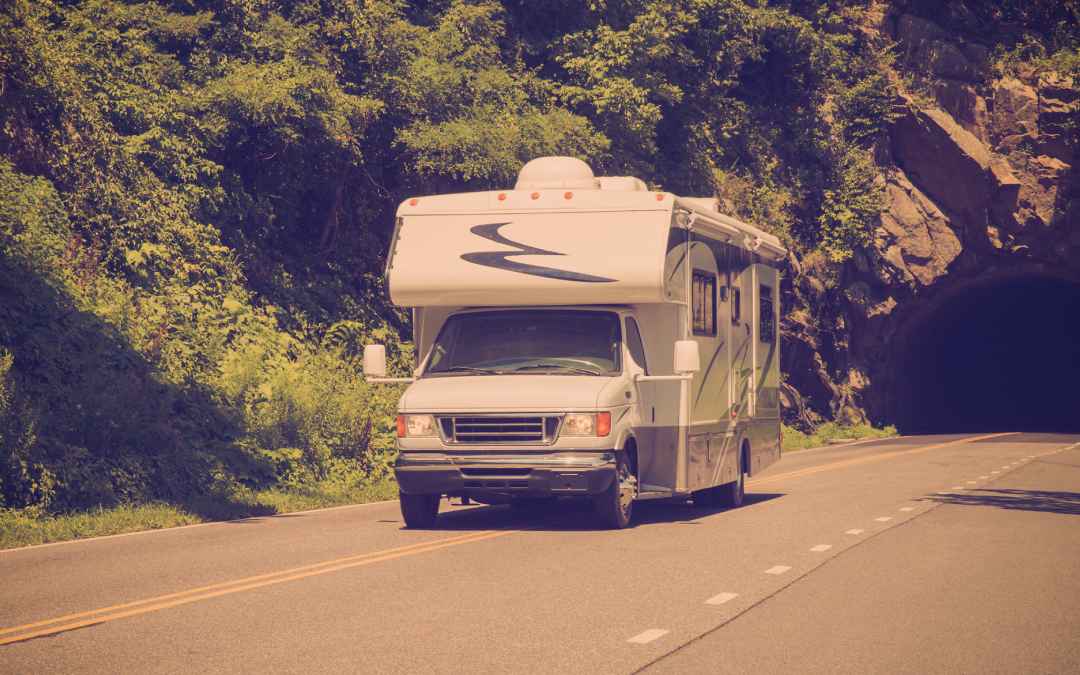
Arriving at a campsite is one of the best parts of any RV adventure. But before relaxing in a camp chair or firing up the grill, there’s one essential task to tackle: setting up your RV. Done correctly, setting up your RV ensures safety, comfort, and a stress-free stay. Whether parked for a single night or settling in for a weeklong getaway, a smooth setup routine makes all the difference. With the right approach, setting up your RV becomes second nature, and maybe even part of the fun.
Setting Up Your RV: Start with the Perfect Position
The first step in setting up your RV is positioning it correctly on the campsite pad. Take a few minutes to assess the site before pulling in. Look for low branches, check the slope of the ground, and locate utility hookups. Consider where slide-outs will extend and how much room they’ll need.
Backing into a site can feel intimidating, but slow and steady wins the race. Use your mirrors, backup camera, and a spotter if available. Clear communication is key. Once in place, ensure the RV is centered on the pad and aligned in a way that makes accessing hookups simple and efficient.
Before moving on, put the vehicle in park, set the parking brake, and chock the wheels. Wheel chocks are a small but critical safety step that should never be skipped.
Leveling and Stabilizing When Setting Up Your RV
Leveling is one of the most important parts of setting up your RV. An unlevel RV can cause discomfort, appliance malfunctions, and even plumbing issues. Refrigerators in particular rely on proper leveling to function correctly.
If using a motorhome with automatic leveling jacks, follow the manufacturer’s instructions to level the rig. For travel trailers or fifth wheels, leveling blocks may be needed under the tires before unhitching. Check side-to-side level first, then front-to-back.
After leveling comes stabilization. Stabilizer jacks reduce movement inside the RV but are not designed to lift or level the unit. Lower them firmly to the ground without overextending. The goal is to create a solid, steady feel inside the RV.
Taking the time to get this right makes the rest of the stay far more enjoyable.
Hookups Made Easy
Connecting utilities is the next step in setting up your RV. Always connect in a consistent order to build good habits and avoid mistakes.
Start with electrical hookups. Ensure the power pedestal breaker is turned off before plugging in your surge protector and power cord. Once everything is securely connected, switch the breaker on. A surge protector helps guard against voltage fluctuations that can damage sensitive electronics.
Next comes water. Attach a water pressure regulator to the spigot, then connect a potable water hose to your RV’s city water inlet. Slowly turn on the water and check for leaks. Keeping connections tight but not overtightened prevents damage to fittings.
Finally, connect the sewer hose if staying more than a night or two. Make sure both valves are closed before attaching the hose. Secure the connection tightly at both ends. Some RVers prefer to wait to open the gray tank until it’s partially full, allowing for better drainage when dumping.
Consistency in your process makes setting up your RV quicker each time you arrive at camp.
Extending Slide-Outs and Awnings Safely
Once utilities are connected and the RV is stable, slide-outs can be extended. Double-check that there’s adequate clearance outside. Inside, ensure cabinets and furniture won’t obstruct the slide’s movement.
Extend slides fully in one smooth motion. Partial extensions can strain mechanisms. Afterward, inspect the seals to confirm they are properly positioned.
Awnings add shade and outdoor comfort but should be deployed carefully. Check for wind conditions before extending. Even a mild breeze can cause damage if an awning is left unattended. Secure it properly and retract it overnight or when leaving the campsite.
These finishing touches truly transform the site from a parking space into a comfortable home base.
Creating Comfort After Setting Up Your RV
With the technical tasks complete, it’s time to make the campsite feel like home. Set up outdoor chairs, a mat, and perhaps a small table. Organize cords and hoses neatly to prevent tripping hazards and maintain a tidy appearance.
Inside, adjust the thermostat, start the refrigerator if it wasn’t already running, and confirm that appliances are functioning correctly. A quick systems check ensures everything is operating as it should.
Developing a personalized checklist helps streamline setting up your RV. Over time, the routine becomes faster and more intuitive. Confidence builds with every successful setup.
FAQs About Setting Up Your RV
How long does setting up your RV usually take?
For experienced RVers, setting up your RV typically takes 20 to 30 minutes. Beginners may need closer to 45 minutes. With practice and a consistent routine, setup time decreases significantly.
Should the RV be level before extending slide-outs?
Yes. Always level and stabilize the RV before extending slide-outs. This helps prevent stress on the slide mechanisms and ensures proper alignment.
Is it necessary to use a surge protector?
Absolutely. A surge protector protects your RV’s electrical system from voltage spikes, faulty wiring, and campground power issues. It’s a worthwhile investment for protecting expensive components.
Do stabilizer jacks level the RV?
No. Stabilizer jacks are designed to reduce movement, not to level the RV. Leveling should be done with leveling blocks or leveling jacks first.
What is the most common mistake when setting up your RV?
One of the most common mistakes is rushing the process. Skipping steps like checking for level ground or properly securing connections can lead to equipment damage or uncomfortable living conditions.
Mastering the art of setting up your RV turns arrival day into a smooth and satisfying experience. With preparation, consistency, and attention to detail, every campsite can feel like home within minutes.
RV Home Inspections provides RV inspections in Houston, Texas. Contact us to schedule an appointment.
Recent Comments